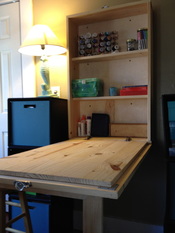
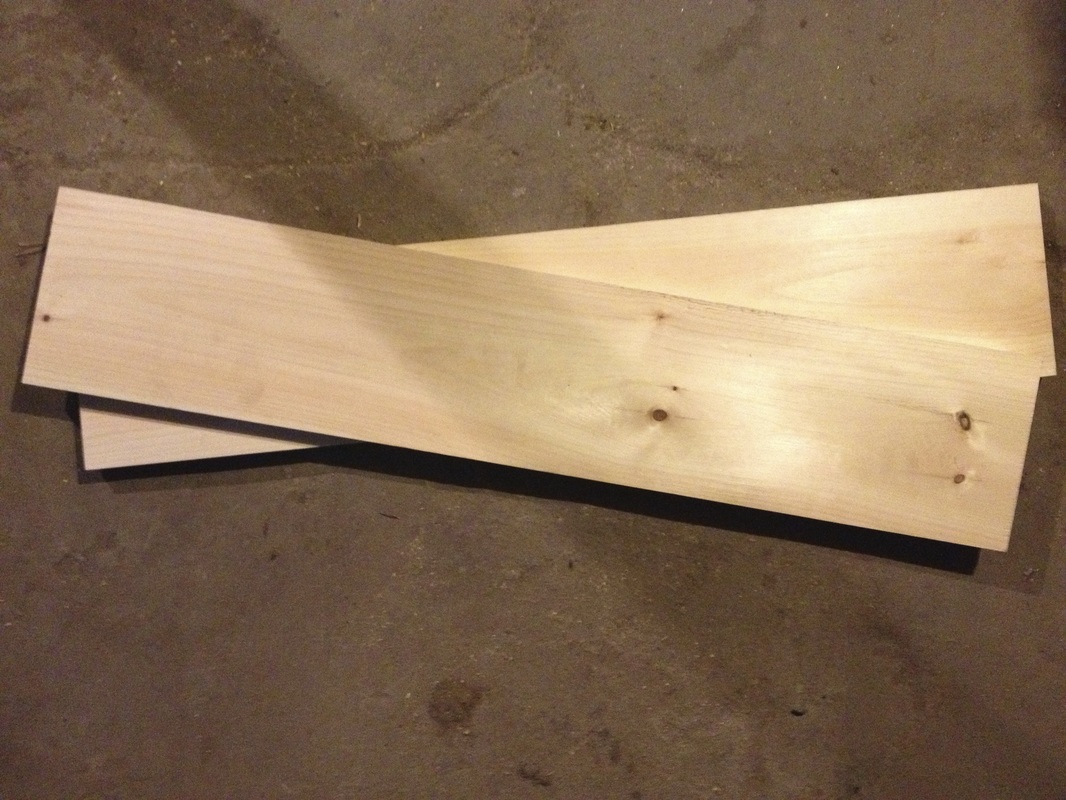
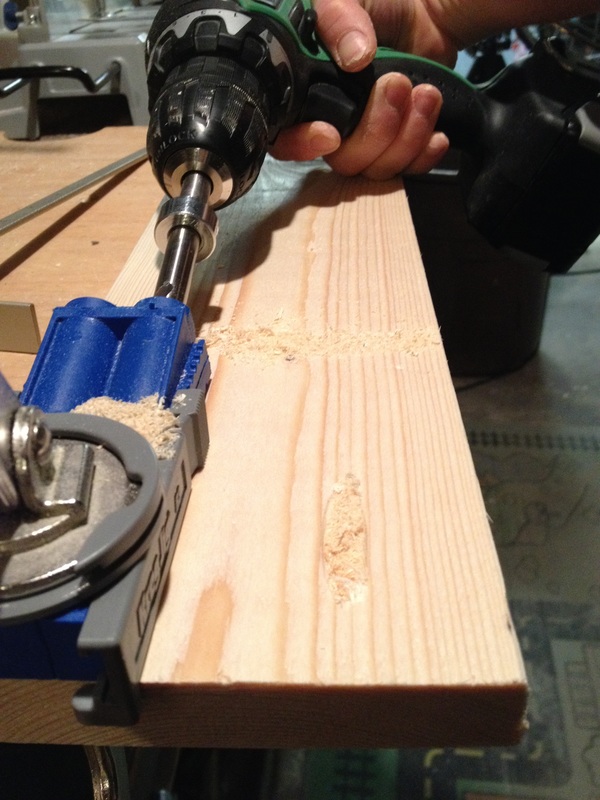
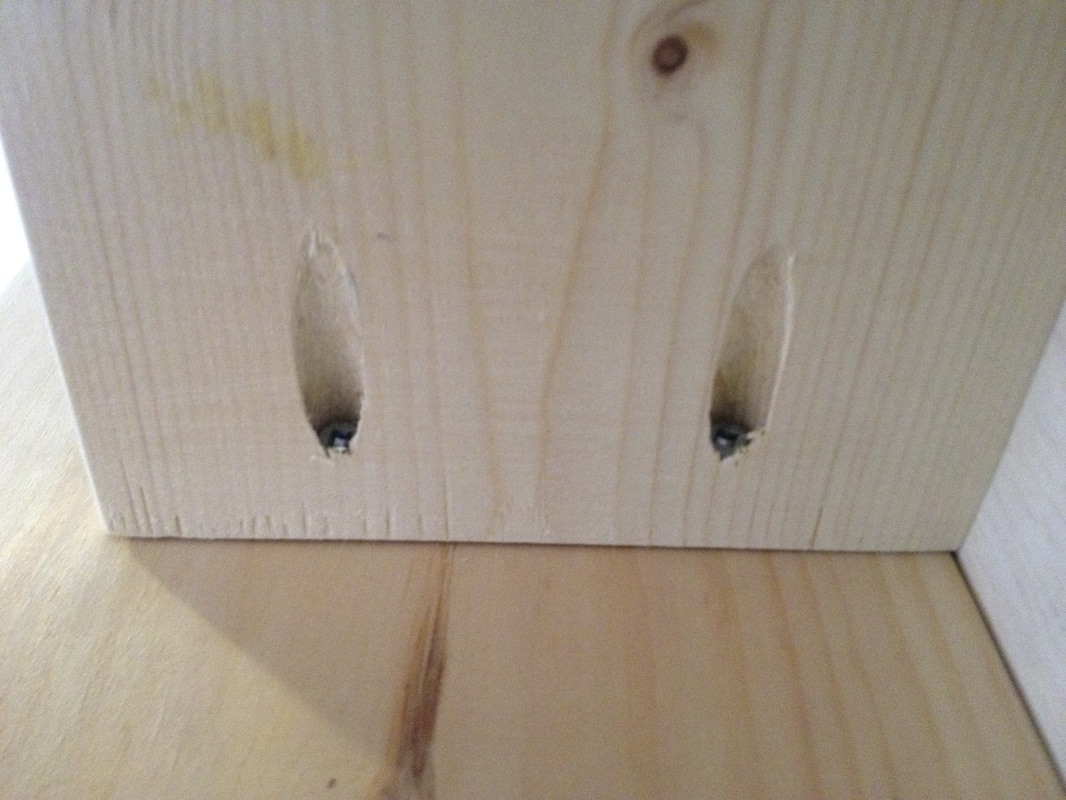
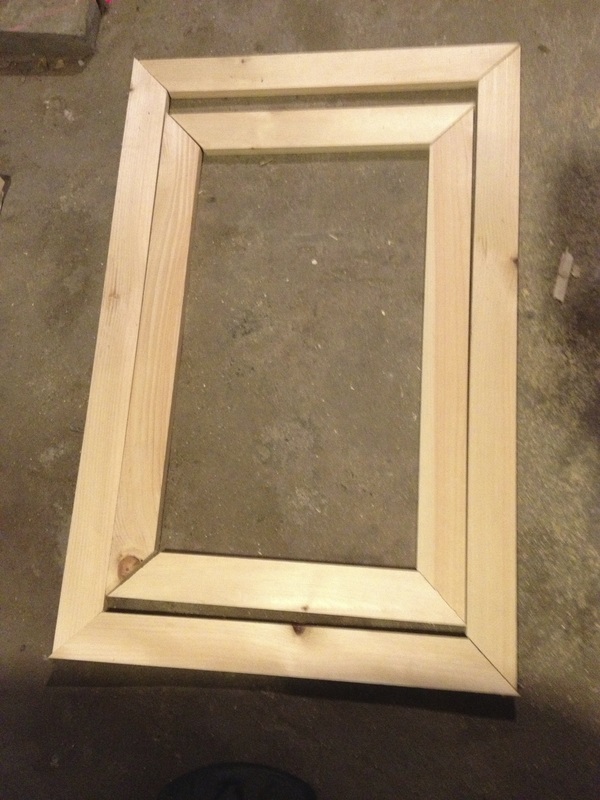
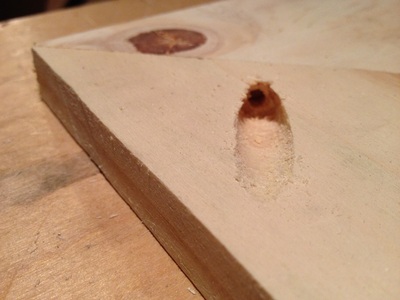
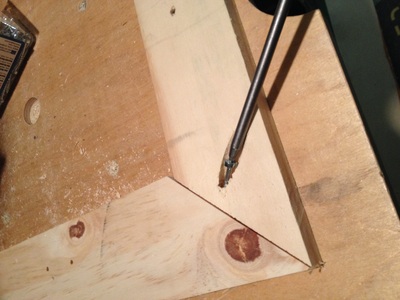
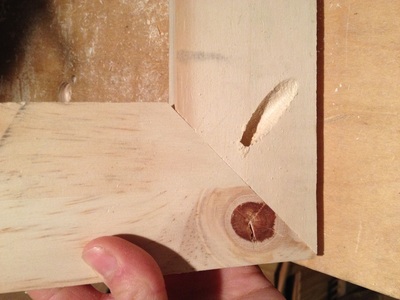
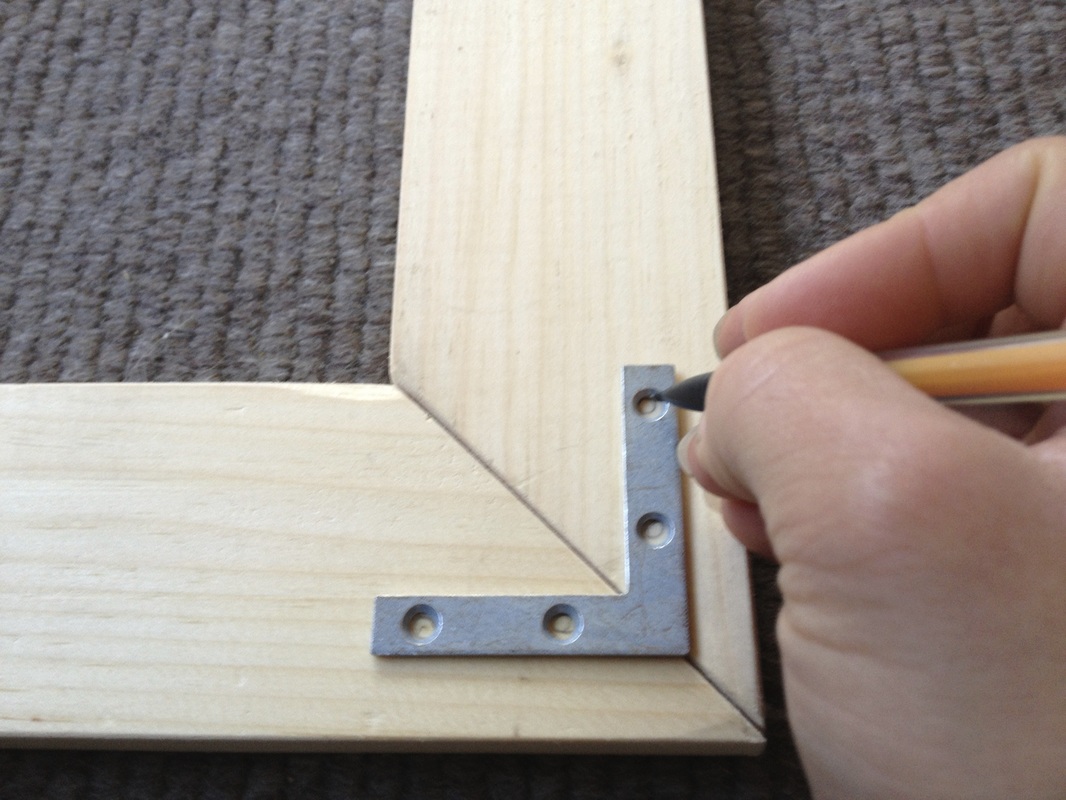
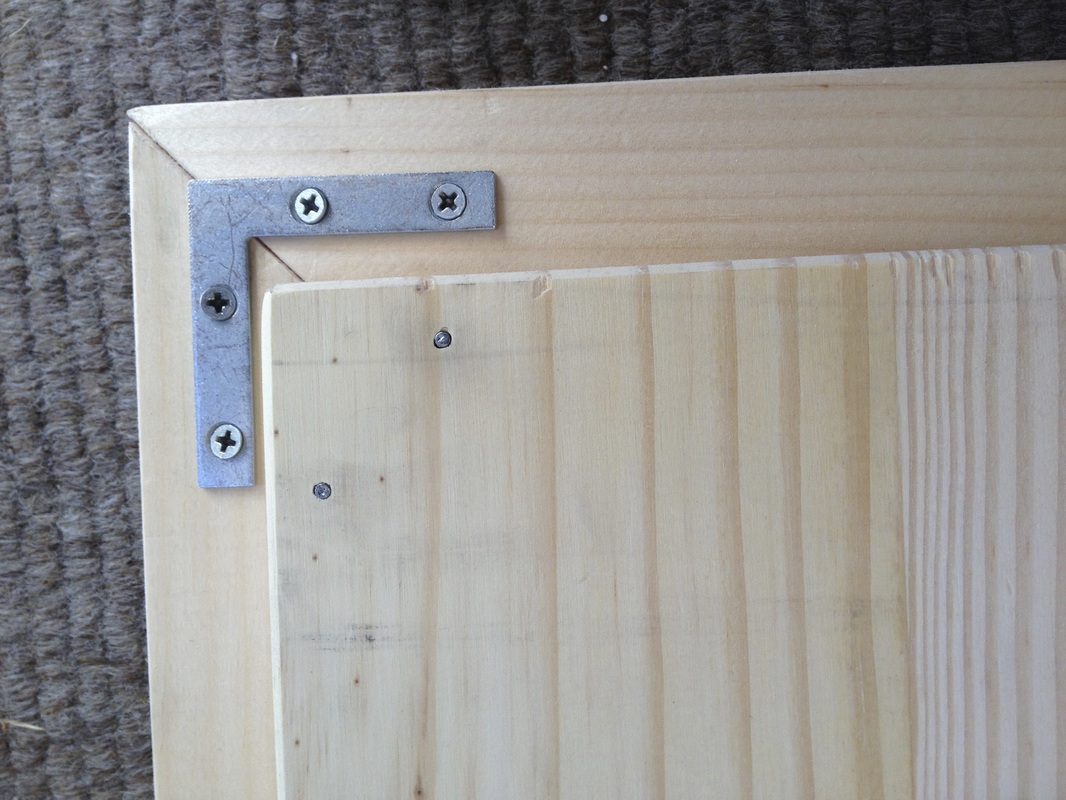
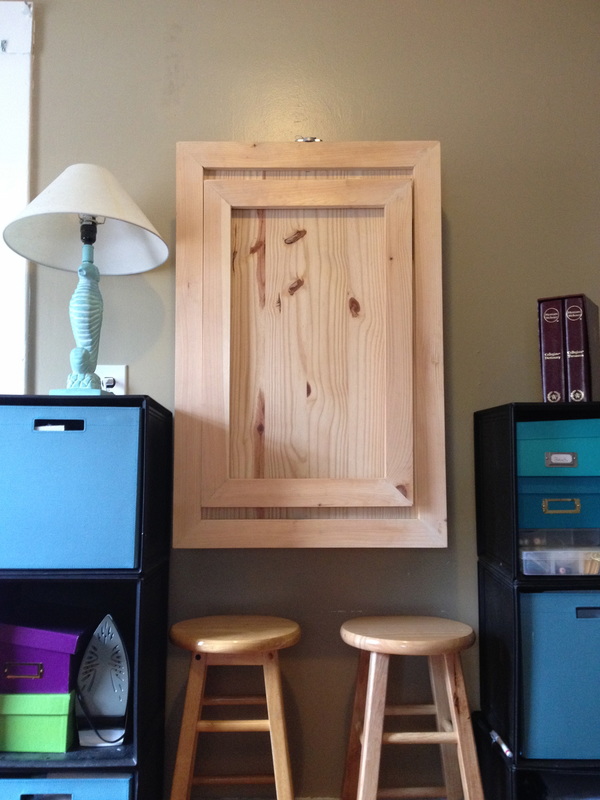
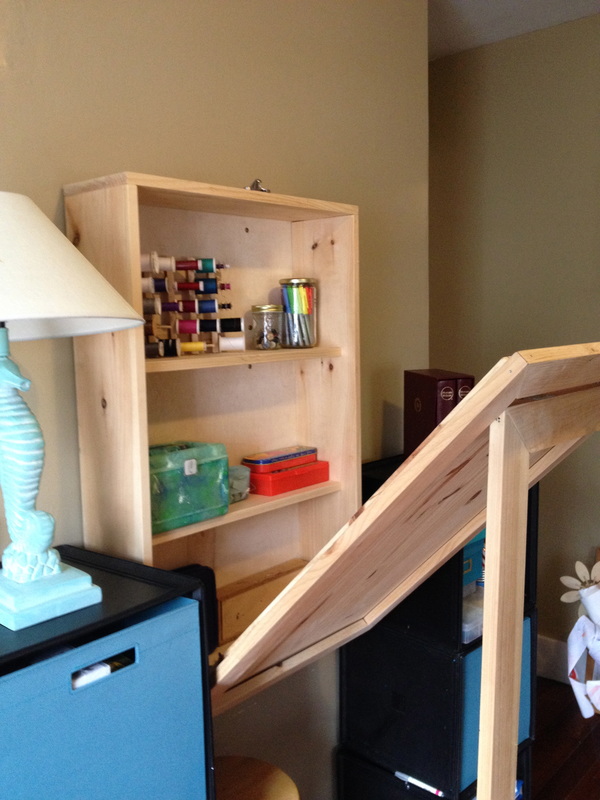
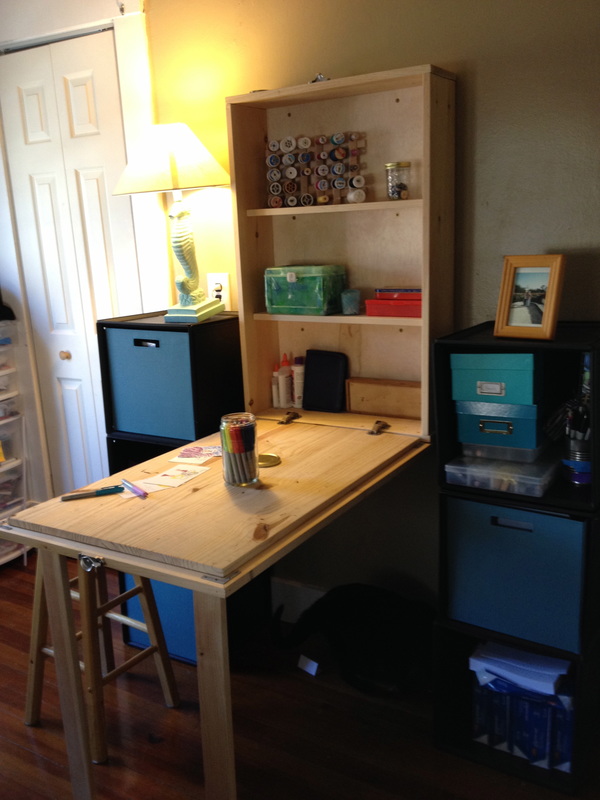
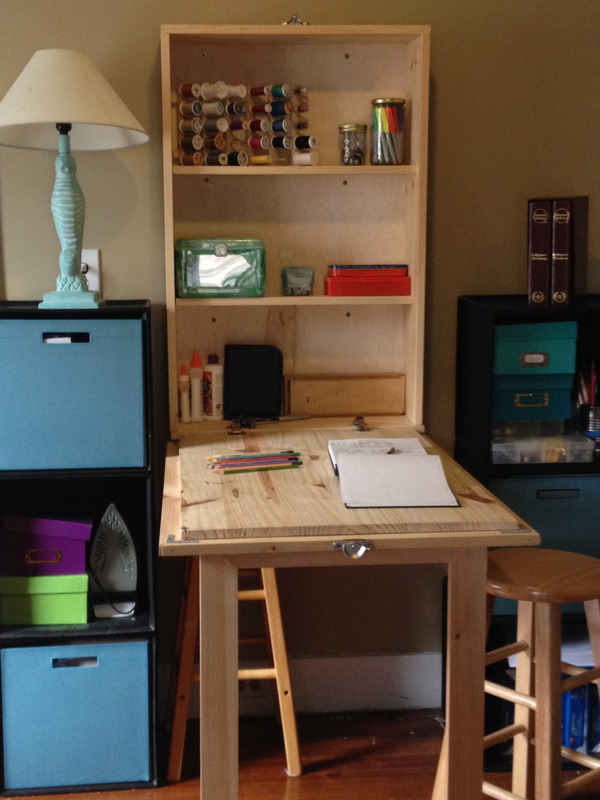
 While some people go on vacation to rest, take a day off and go to the beach or just read, I need something different. My job, unfortunately, doesn't always allow me to go on vacation or take a quick break, a day here or there. While I find my job fulfilling, no one thing can fulfill all of your needs. So while some people read books, go on a hike or socialize, I take on projects. My most recent project is a Murphy desk. As I work on this project I know that there is a start and end. There are mathematical challenges that make my brain whir and go. Most importantly there's an aspect of meditation in working with my hands. I have control. I can soften the edges of each piece of wood that will be part of this desk. And while I know this may sound a little kitchy, softening the edges of the wood allows me to think about, meditate on the harsh edges of issues I face in my everyday life. This desk not only provides a creative outlet that I wouldn't otherwise fill, but also a form of therapy. I don't know about you but when I don't have creative outlets I find I feel like I'm stagnating. Stagnating in the monotony of my everyday tasks. Working on projects provides a break in the monotony and gives me something to look forward to. Life, if you think about it, is just a series of projects or tasks. Some last years, some months, some weeks or days...you get the picture. Making sure we have a space to creatively express ourselves and try new things is vitally important to our mental health and well being. For me this is a metaphorical space where I can experiment with something new and look forward to a challenge. And for now it is a Murphy desk. HOW TO-Murphy Desk If your a visual person like I am then you'll probably like my journal drawing to follow along as a guide to building your own Murphy Desk. In reality you can build it to any dimensions with a little time and effort into doing all the math. Here's what you need for a copy of what I made How To-The Murphy DeskIf your a visual person like I am then you'll probably like my journal drawing to follow along as a guide to building your own Murphy Desk. In reality you can build it to any dimensions with a little time and effort into doing all the math. 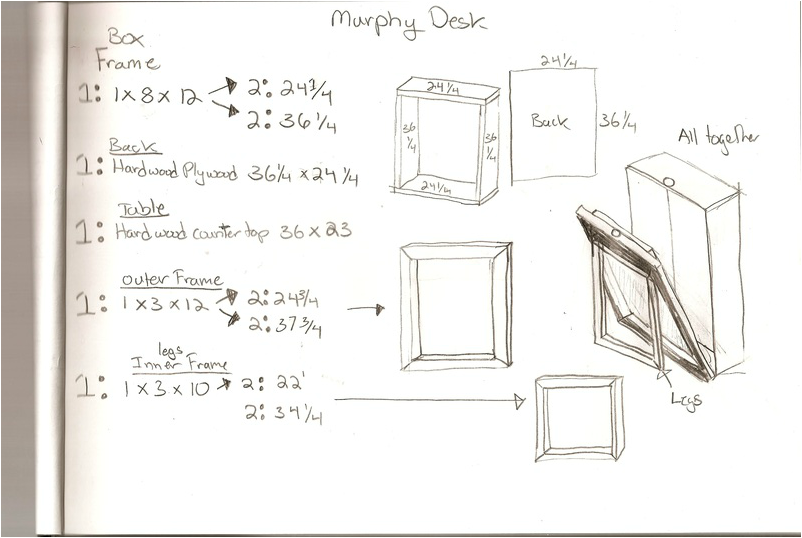 Here's what you need for a copy of what I made For Cabinet box 1: 1x8x12 cut into 2: 24 1/4" & 2: 36 1/4" pieces For the Back 1/4" hardwood plywood cut into 24 1/4" by 36 1/4" For the table 1: Hard wood counter top 36 x 23" For the outer Frame 1: 1x3x12 cut into 2: 24 3/4" pieces & 2: 37 3/4" pieces Inner frame aka the Legs 1: 1x3x10 cut into 2: 22" pieces & 2: 34 1/4" pieces Hardware 2 Easy mount Concealed Hinges 1 window latch 2 Basic Hinges Begin by Building the cabinet box I used a Kreg Jig to build the box Assemble the box by attaching the side panels to the top and bottom panels of the cabinet box. Drill 3/4 inch pilot holes using a kreg jig. Use 1 1/4 inch kreg screws to attach the sides to the top and bottom of the box Set the cabinet box aside and assemble the frames. Using the kreg jig drill 3/4 inch pilot hole to each side of top and bottom pieces. Using a 1" kreg screw attached the bottom and top of frame to each side Note: that you may have to fill in gaps with a little wood putty unless you cut all pieces together in one saw cut like I did. You can also chose to strengthen the joint by attaching a 2x2 corner brace. This isn't required but I wanted to add strength to the joint. I also put a bead of glue down on the non kreg jig side of each corner to strengthen the joint. Attach the outer most frame to the table using 1 1/4" finish nails Place large frame on floor and then table on top to nail them together. Make sure that the large frame over laps the table by 1" on all sides Now flip the table and large frame over. With your table laying flat frame side up place your basic hinges 7/8" from the outer frame. Screw bottom half of hinge to what will be the "underside" table when desk is folded down. (You can place your inner frame in between the outer frame and hinge like I did in picture 1 to make sure the hinge stays where you want it Next place your inner frame laying down inside larger frame and fold hinges to meet the top edge (picture 2) Screw the hinge to outer frame 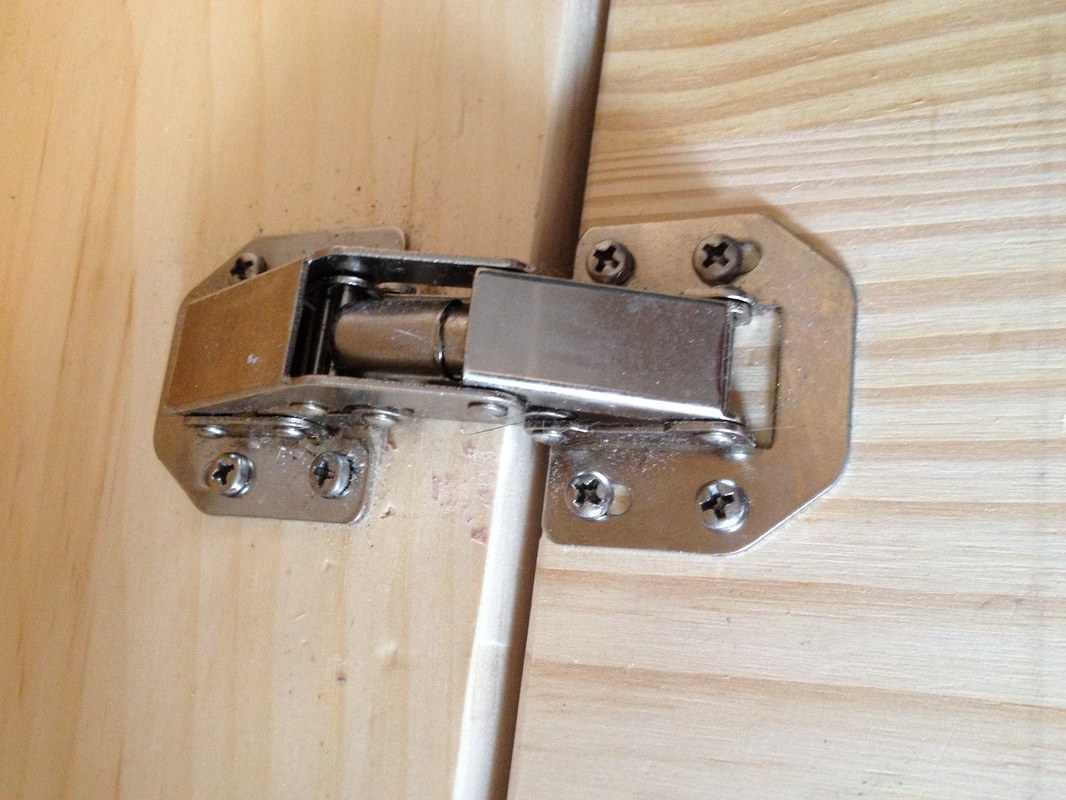 Your almost there! Now its time to attach the table and frames to the cabinet box Using 2 Easy Mount Concealed Hinges attach the hinge to the bottom side of the cabinet box about 3 or 4 inches in from each side of the box. Place the the table "frame side" down on the floor and then slide the cabinet box with hinges attached over it. The cabinet box should nicely slide over the table and come to rest on the outer most frame. With the hinges folded in screw the other side of the hinges to the table. The picture above shows the hinge extended and the table out. (You can always follow the guide provided with the hinge) 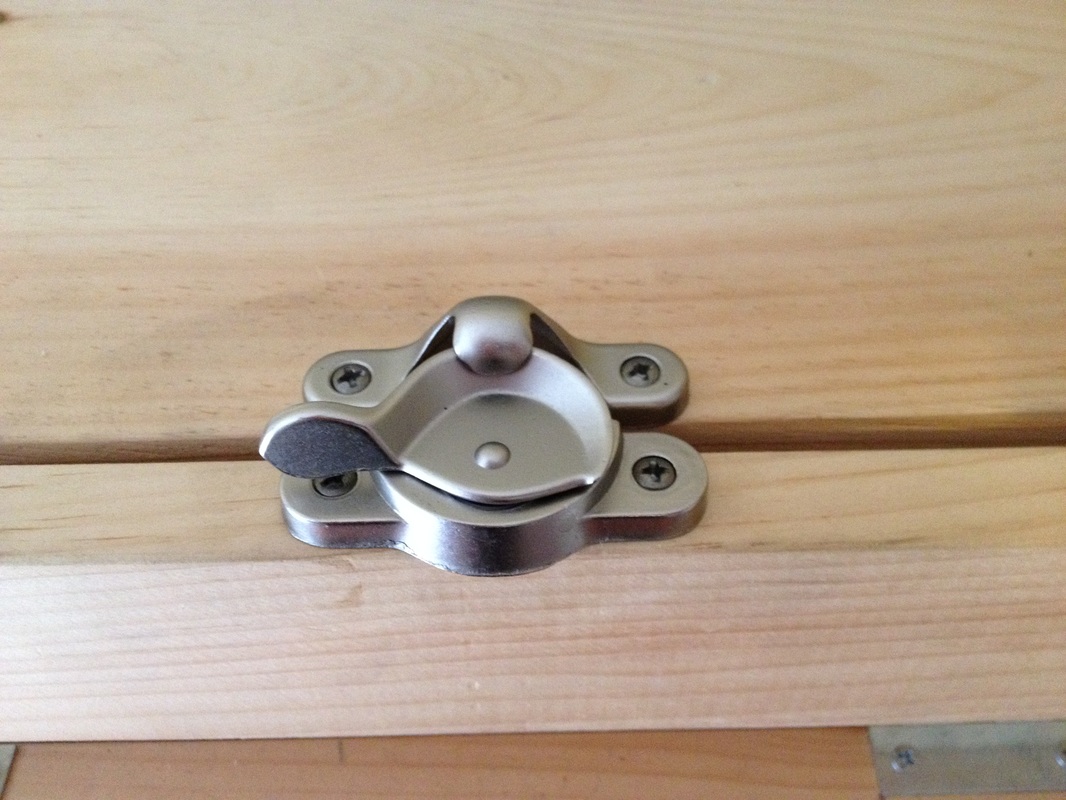 With the cabinet resting on its base attach the window latch to the cabinet box and top edge of the outer most frame. And finally attach the backing piece to the back using 1" finish nails. I nailed 4 along each side and 3 on the top and bottom.
0 Comments
Leave a Reply. |
AuthorHi, I'm Liz. I like to write about life and the wisdom I cull from it. I use words and images to inspire empathy and connection with each other and the world. Categories
All
Archives
September 2019
|


 RSS Feed
