|
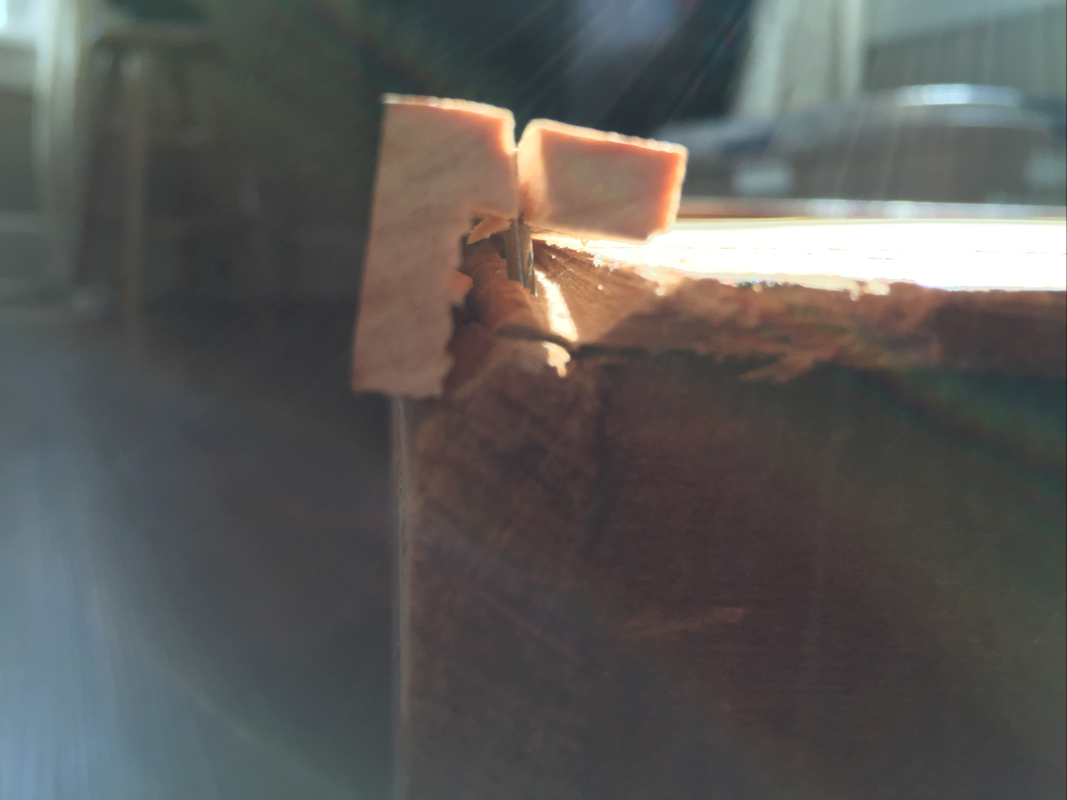
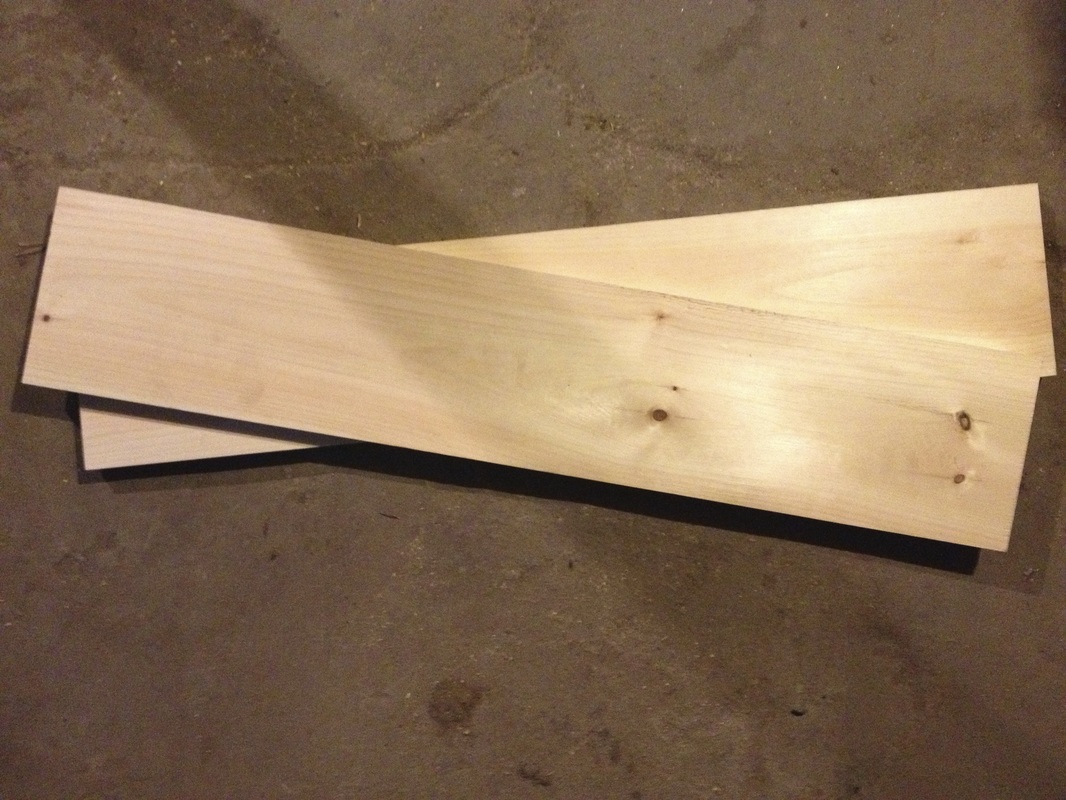
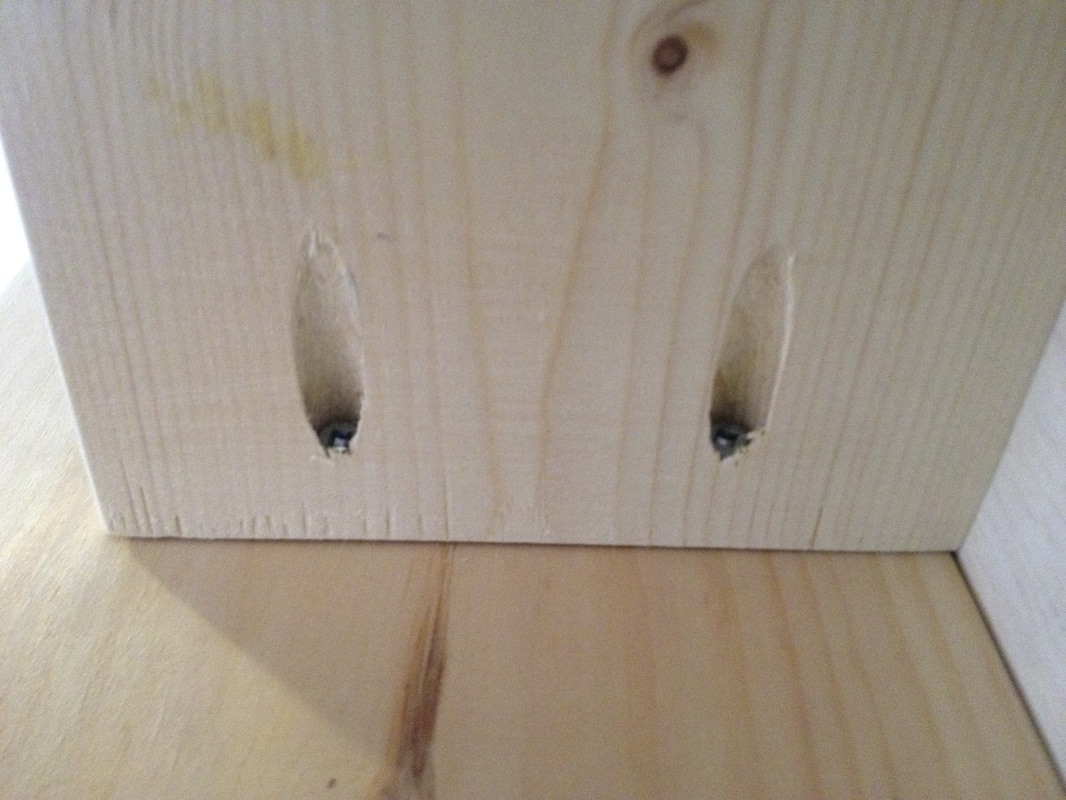
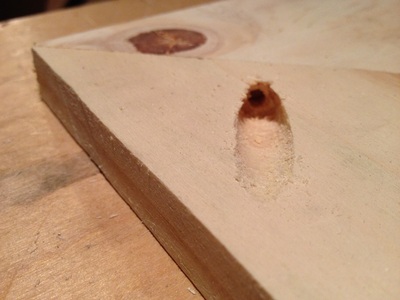
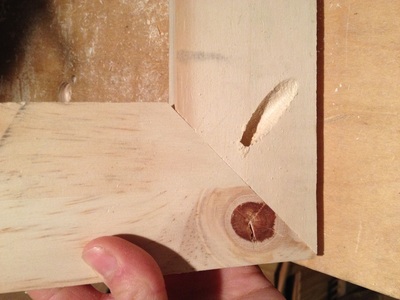
I was fed up. Staring at my sock drawer willing it to close while it stubbornly resisted. It's a strange moment in which to have an epiphany, but if life has taught me anything it's that the most powerful lessons can come from the most mundane experiences. I looked at all my neatly folded socks (yes I'm one of "those" people) and said there's got to be a better way. So I pulled out the drawer and looked at the guts of my dresser. The issue was quite clear, this 100 year old dresser was a bit weathered and worn. Wouldn't we all be at that age? The drawers wooden guides had been slowly chipped, scratched and sanded away by a drawer that hadn't rested properly on them for who knows how long. It was a simple-ish fix. Remove the old guides, cut two new guides to the proper size, finish nail them in place and apply wax. So, I fabricated a small piece from some scrap pine board in our basement and voila! Done right?  Nope! Not done just yet. After trying to insert the drawer a couple of times and feeling some of the same resistance, albeit not as bad as before I paused, emptied the drawer and looked at the bottom. When I did I realized the same damage had been done to the actual drawer guides. Hmmm, that's not as easy a fix as I thought... Nonetheless I wasn't going to half do the job, lest I desired to begin fighting the drawer again in a few years...maybe months. In any case, I realized what the drawer needed was simply a new wood support to help guide it along the newly installed guides. So I again visited my friend the table saw, taking a few pieces of wood and whittling them down to the proper L shape. Then some wood glue and a few finish nails to lock the bottome guides into place and voila again! While the drawer took about an hour to fix and required I fabricate 3 new L shaped guides because I botched the first one by splitting it (pictured). In the end I learned that the only real stubbornness was coming from myself. I let out a small giggle when I realized this halfway through the project. The drawer was never being stubborn, I was being stubborn. I was the one that was pushing, banging and occasionally swearing at it when it, to no fault of its own, clearly wasn't working properly and wouldn't close. Stubbornness is funny like that, it makes you think you can blame the issue on something external from yourself. The reality is however, the stubbornness is likely coming from yourself. In the end I conquered this small bit of stubbornness, learned a few things about woodworking, and now have a properly functioning dresser. Hopefully the lessons I learned during this experience will carry forward. And if not I still learned a little bit about how to fix a dresser. Most importantly I'm especially glad that I chose to love this old hand-me-down instead of giving in to my stubbornness and just wanting to buy a new one. 
0 Comments
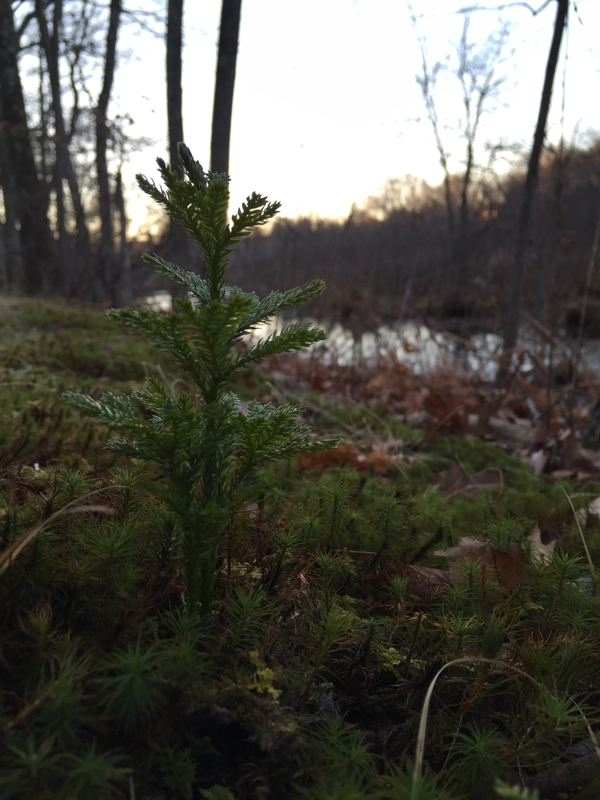
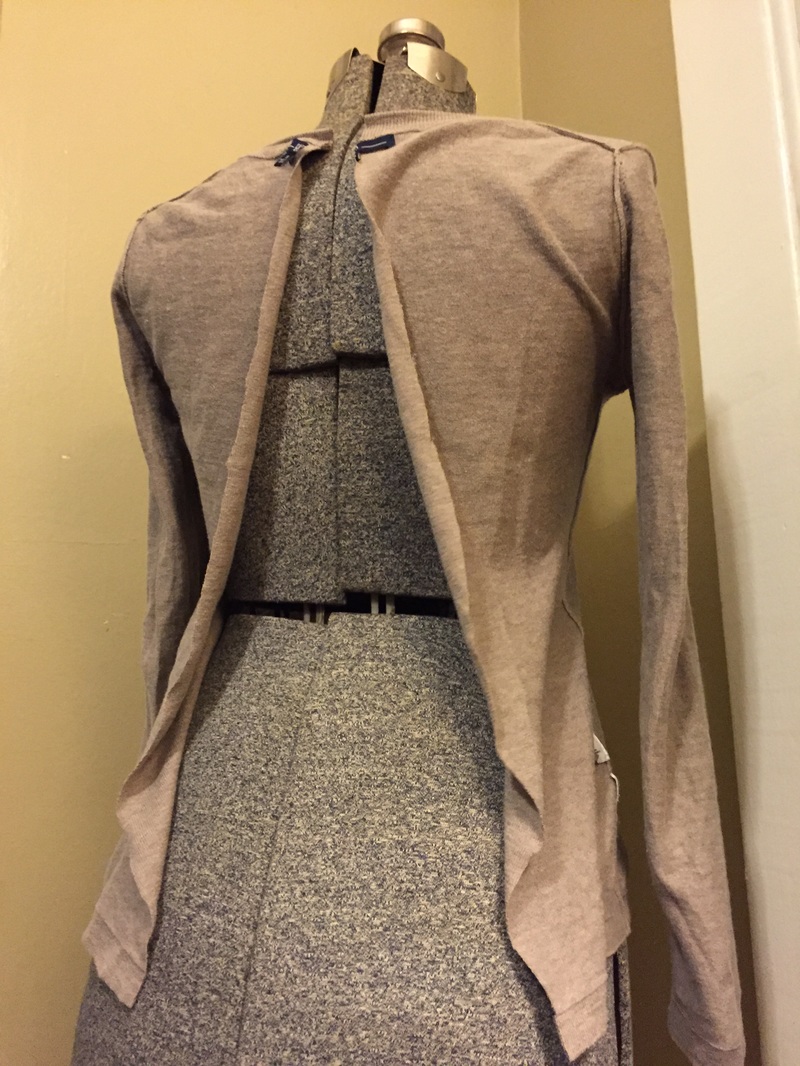
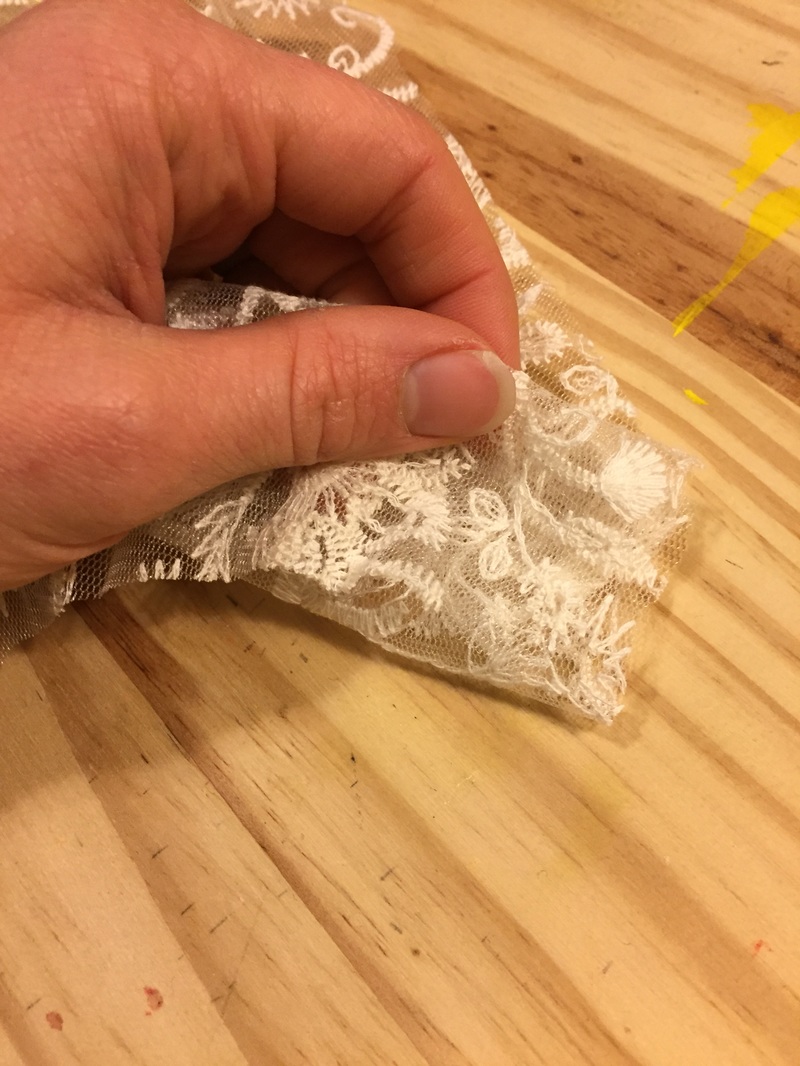
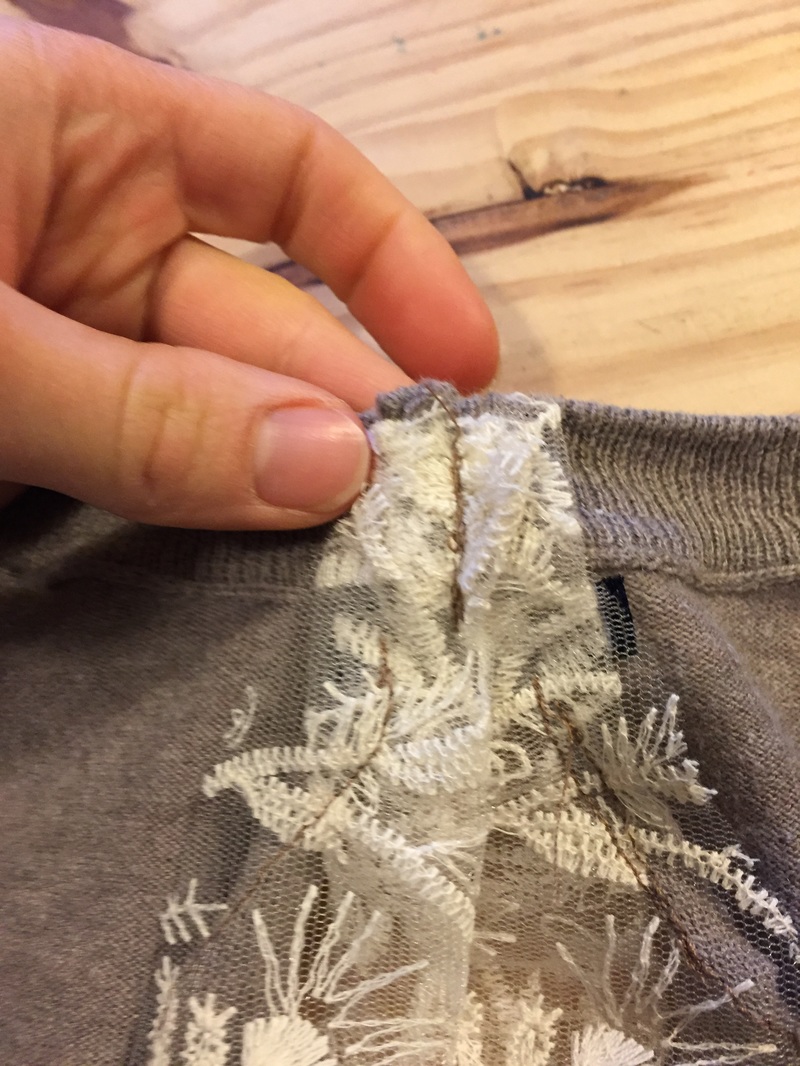
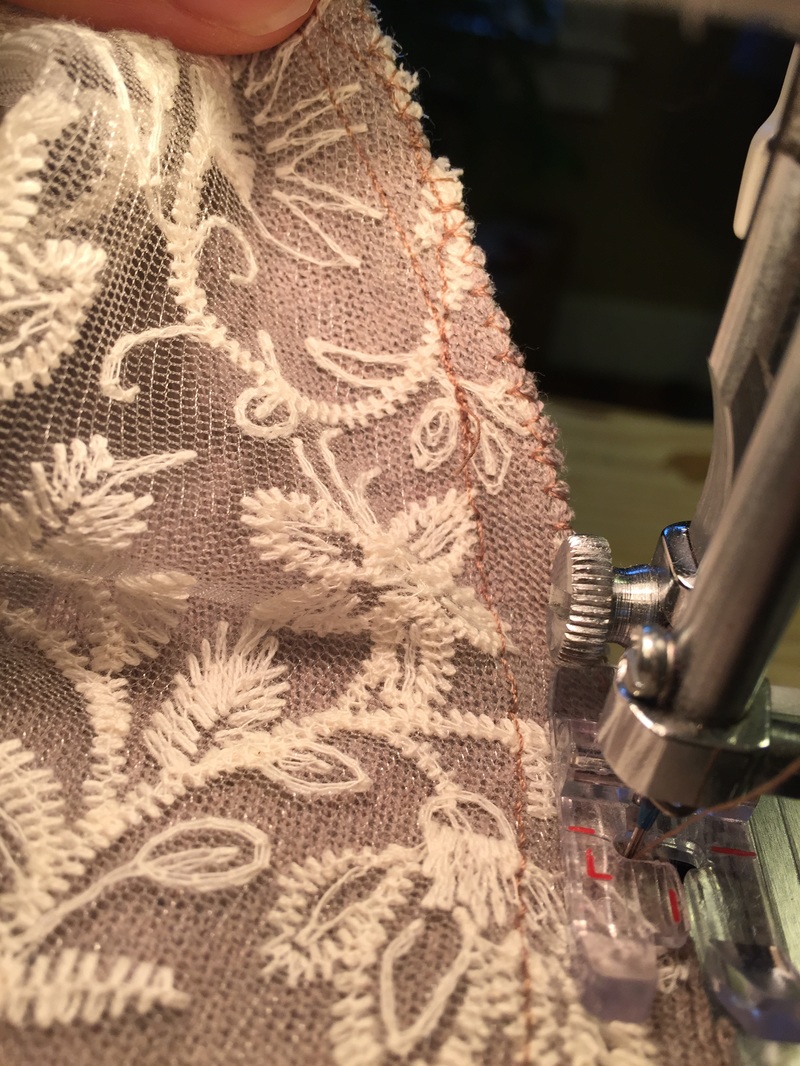
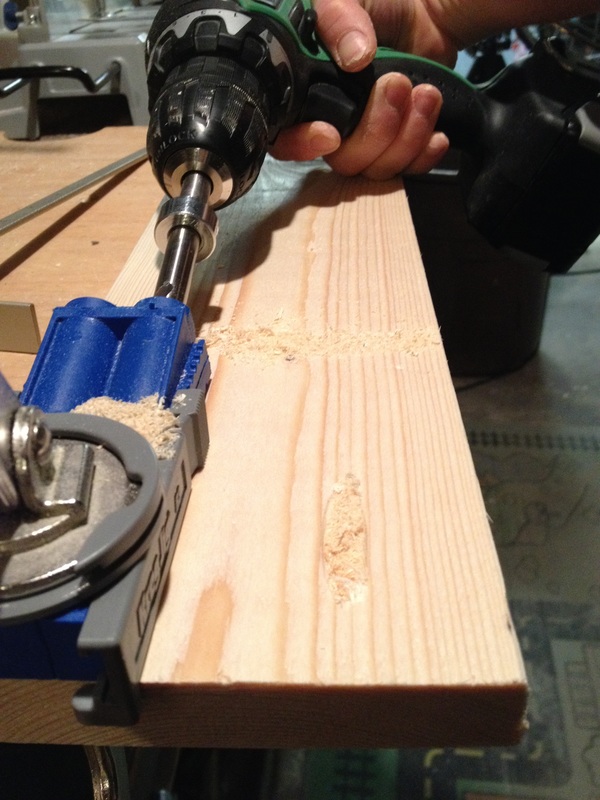
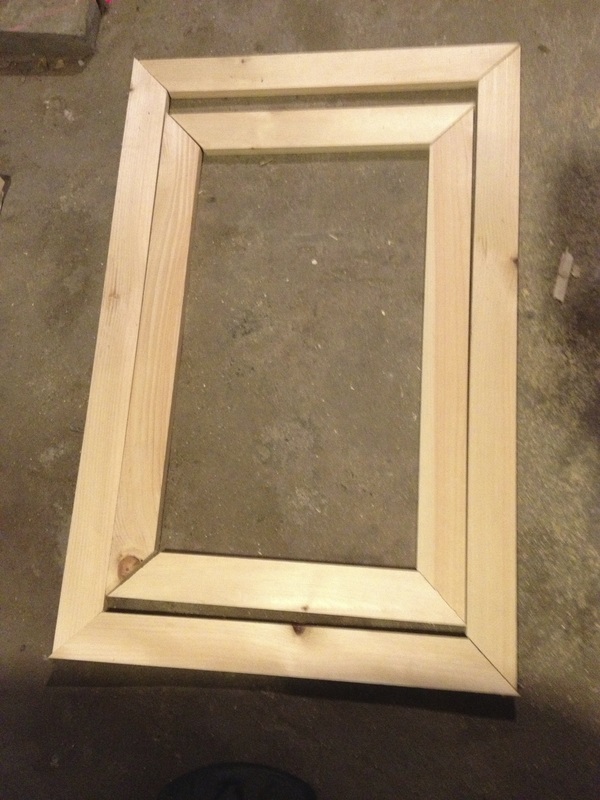
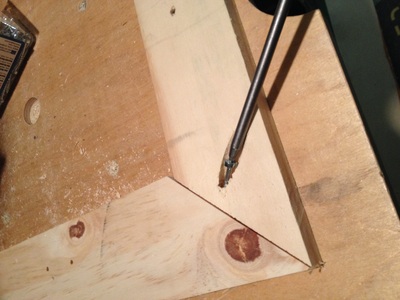
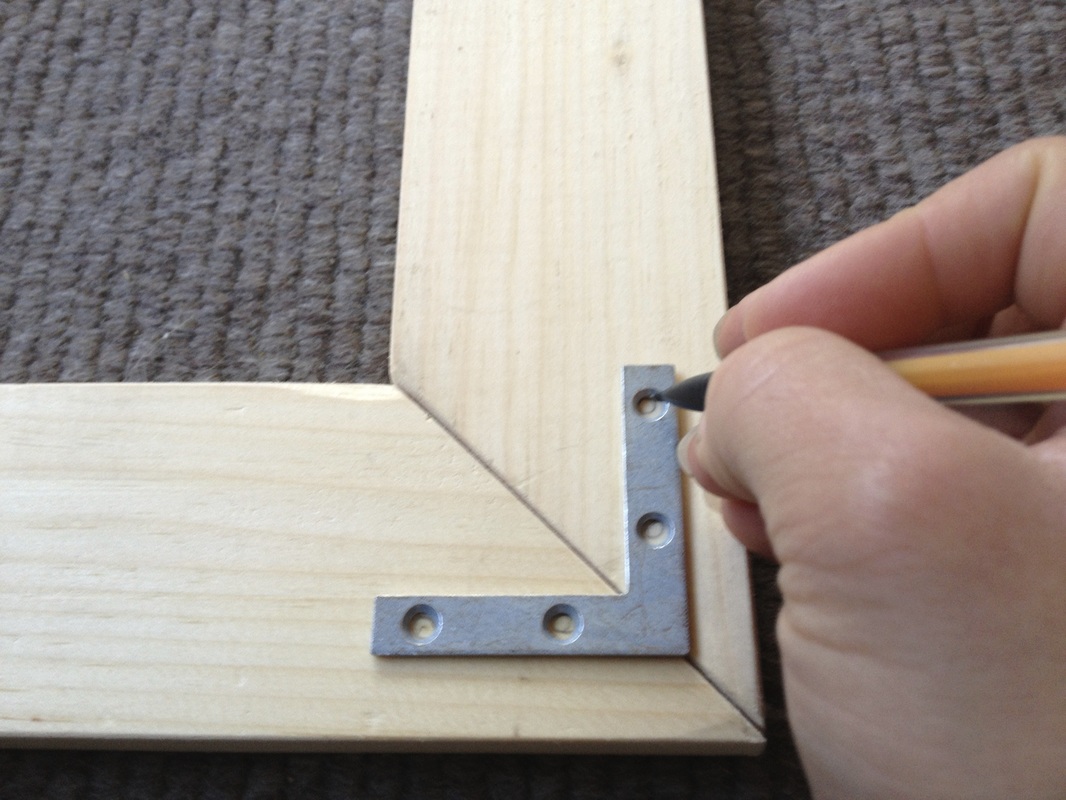
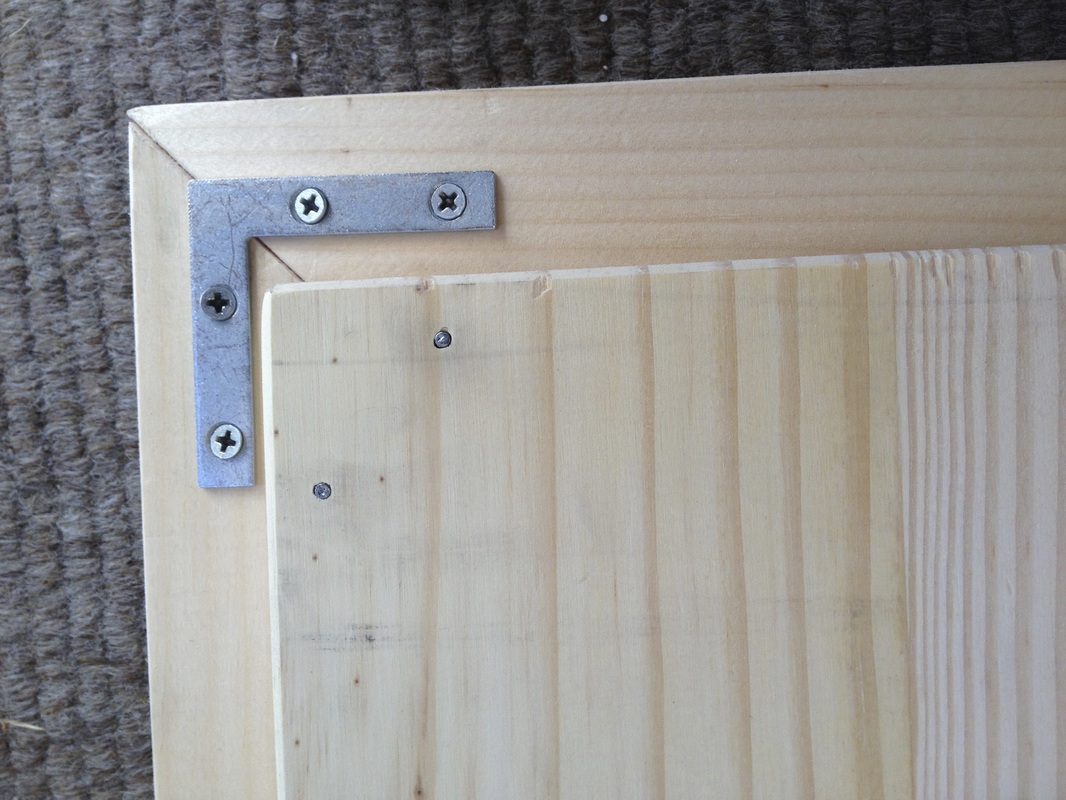
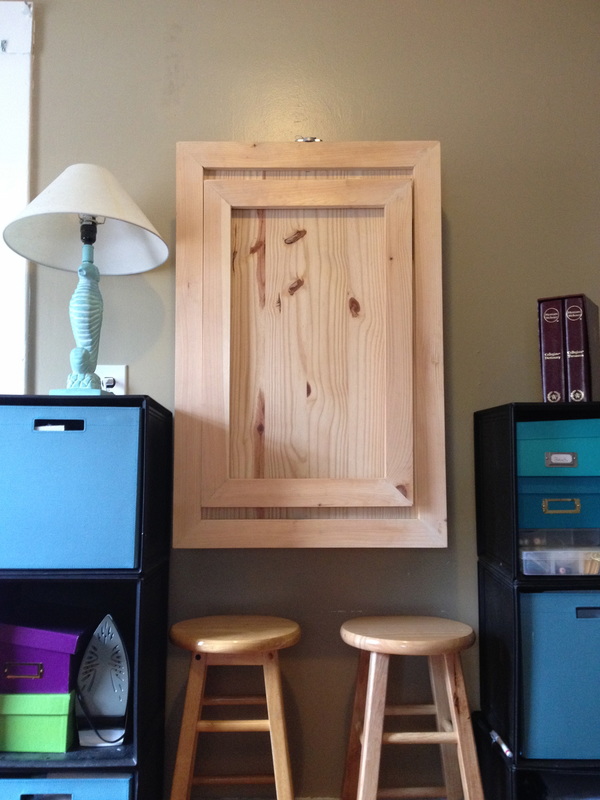
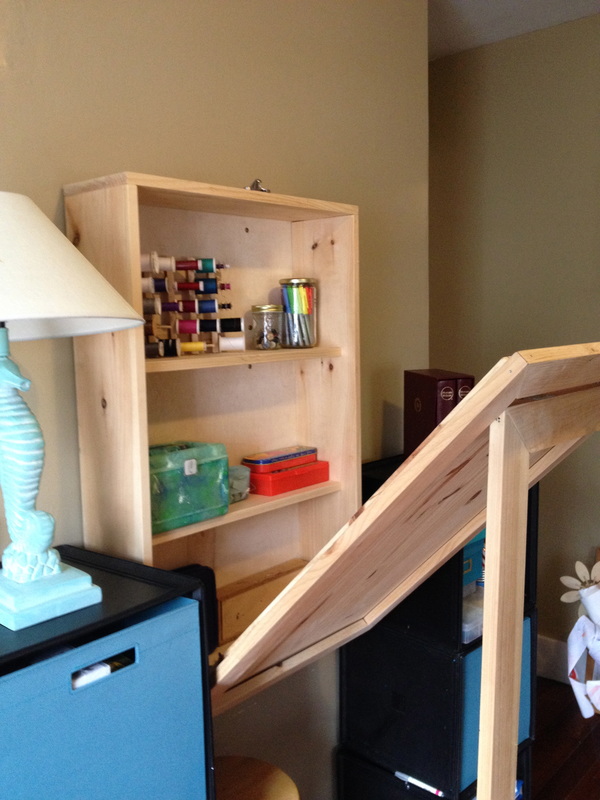
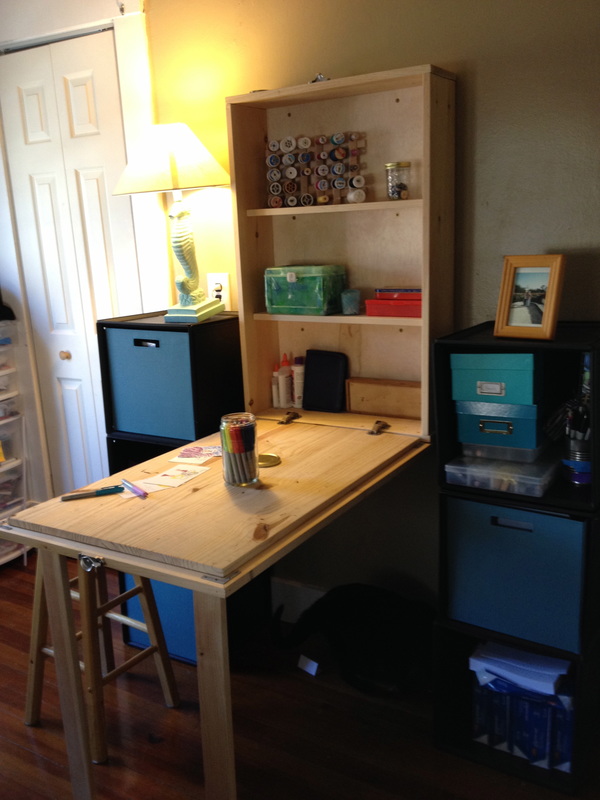
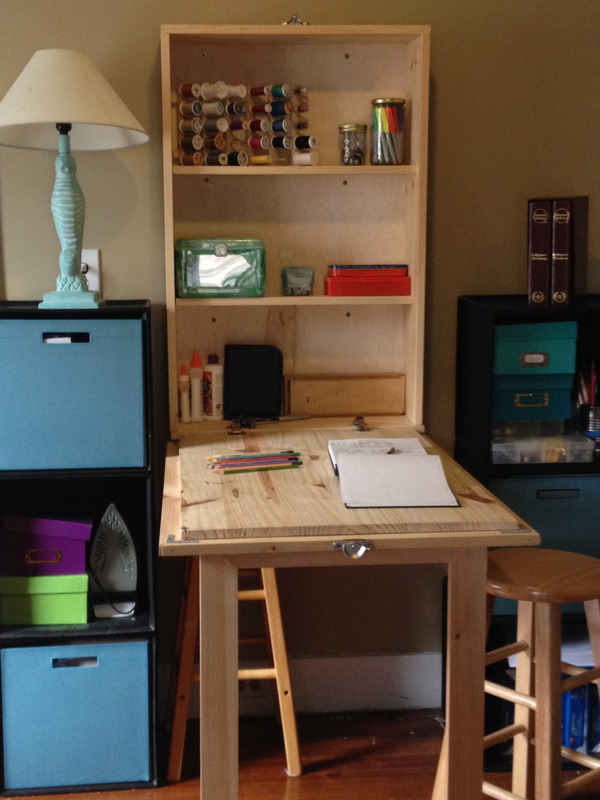
 Being bold, does not come naturally to me. I'm a fairly private person. Yet I constantly wish I did more or said more. Somehow contributed more to the world. Sometimes I wonder if others struggle with that same battle. Wanting to speak out while also not wanting to offend. As I have gotten older my introverted self has gotten a bit wiser. One of the recent challenges I gave myself was to be bolder. To speak the truth as I see it. To step out and take a risk. In the words of some of my mentors; to jump. The truth is I learned that taking risks and being bold, while scary, is ultimately beneficial a long time ago. Yet I still remained tethered to a bit of fear, perhaps my ego. I am scared of offending, of being bold and having others look at me funny. However it's stifling when I'm caught always holding my breath, waiting for the proverbial "right time" to say or do something. So recently I've started to open the door to boldness. While the door is only open a crack I'm still proud that I have started to engage with others through social media, face to face, through art and writing to speak my truth. To be bold and add my perspective to the conversation whatever the topic might be. I hope to continue to be bold and contribute more to the world I so deeply cherish. Perhaps you too can learn from challenging yourself to be bold, to step outside your comfort zone and contribute more to the world you cherish.   Seasons change, and as they do they bring with them the excitement of possibility. The possibility of seeing old friends during the holidays, of snowshoeing in the woods in the dead of winter, of picnicking in the park or swimming in the river in the heat of summer, and the fun of harvesting apples in the fall. I find myself wondering: What will I discover? What will I experience? Where will I go? But as I wonder I also find myself caught up in my dreams of what could happen. I find myself transforming these dreams into expectations. Expectations of what winter, spring, summer and fall should be like. Of what I should do. Its moments when this happens that I have to remind myself life is not a race. And although time is not endless for us, it is important to remember to enjoy what is happening around us rather then letting our expectations of what it should be like keep us from feeling unfulfilled or disappointing. In this respect I'm always looking for small ways to appreciate what is happening around me. As I have gotten older I have noticed the shifting of the light more profoundly between seasons then I ever have before. I am thankful for this because it allows me to mark the passage of time, but also to realize that I am witnessing it happen in a way that is more present. I remember simply being amazed at how it was suddenly so dark or suddenly light out till late into the evening. It always seemed to catch me off guard before. However, recently I've been witnessing the change. Appreciating how gradual it is and realizing that this how most of life happens. Gradually. Gradually, is a new frame of mind for me. While I like to believe I am fairly patient, realizing the gradual nature of the seasons and of life has helped quiet my expectations and allowed me to witness opportunities and experiences bloom rather then feeling disappointment when something doesn't happen NOW. Perhaps this is just a right of passage, a part of growing older. Regardless, I for one, am simply thankful that I have come to appreciate it.  There is something about the hectic way of life that prevents us (me especially) from really being present at any given moment. At least for me it's a constant struggle to remember to be appreciative of what's going on around me. To really see my surroundings and take everything in. In order to practice being present I occasionally partake in photography. Challenging myself to look at a place in different ways. This often times means getting down on the ground or climbing. Stepping back, looking up, getting close and looking down. It's quite amazing what you see if you try a different perspective. I like this practice because it slows me down and makes me really feel present in the moment I'm observing. I guess this is a bit like a meditative practice. Perhaps you have a practice that helps you feel present too. In any case below are a few photos I've taken that have made me pause and say "wow" why didn't I try that before. I recently did a sort of clothing that I no longer wear, didn't fit or had served its purpose and should be passed on. In that sort I found and old tan/brown sweater that I had worn a bit but just didn't work well any more. Being a thrift find in the first place it didn't quite fit when I found it. So I decided to remake it by adding a beautiful lace panel to the back. This design seems to be "in" right now. But more importantly I've had a love of lace for a long time and this was an excuse to use some from my fabric collection that I've built over the years. I took some photos of the process and shared them below. I hope you enjoy and find your own inspiration to do something similar. #upcyclesweater #lace #reuse #refashion 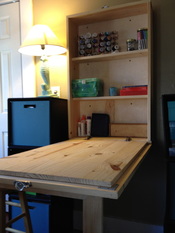 While some people go on vacation to rest, take a day off and go to the beach or just read, I need something different. My job, unfortunately, doesn't always allow me to go on vacation or take a quick break, a day here or there. While I find my job fulfilling, no one thing can fulfill all of your needs. So while some people read books, go on a hike or socialize, I take on projects. My most recent project is a Murphy desk. As I work on this project I know that there is a start and end. There are mathematical challenges that make my brain whir and go. Most importantly there's an aspect of meditation in working with my hands. I have control. I can soften the edges of each piece of wood that will be part of this desk. And while I know this may sound a little kitchy, softening the edges of the wood allows me to think about, meditate on the harsh edges of issues I face in my everyday life. This desk not only provides a creative outlet that I wouldn't otherwise fill, but also a form of therapy. I don't know about you but when I don't have creative outlets I find I feel like I'm stagnating. Stagnating in the monotony of my everyday tasks. Working on projects provides a break in the monotony and gives me something to look forward to. Life, if you think about it, is just a series of projects or tasks. Some last years, some months, some weeks or days...you get the picture. Making sure we have a space to creatively express ourselves and try new things is vitally important to our mental health and well being. For me this is a metaphorical space where I can experiment with something new and look forward to a challenge. And for now it is a Murphy desk. HOW TO-Murphy Desk If your a visual person like I am then you'll probably like my journal drawing to follow along as a guide to building your own Murphy Desk. In reality you can build it to any dimensions with a little time and effort into doing all the math. Here's what you need for a copy of what I made How To-The Murphy DeskIf your a visual person like I am then you'll probably like my journal drawing to follow along as a guide to building your own Murphy Desk. In reality you can build it to any dimensions with a little time and effort into doing all the math. 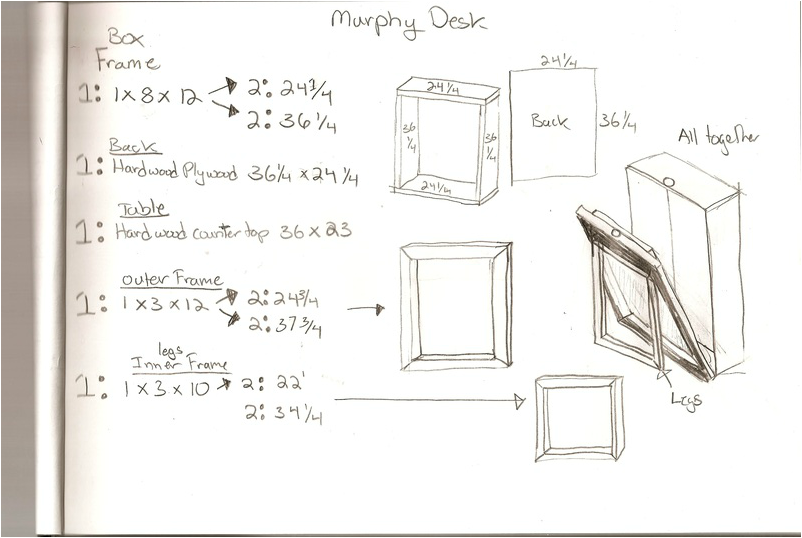 Here's what you need for a copy of what I made For Cabinet box 1: 1x8x12 cut into 2: 24 1/4" & 2: 36 1/4" pieces For the Back 1/4" hardwood plywood cut into 24 1/4" by 36 1/4" For the table 1: Hard wood counter top 36 x 23" For the outer Frame 1: 1x3x12 cut into 2: 24 3/4" pieces & 2: 37 3/4" pieces Inner frame aka the Legs 1: 1x3x10 cut into 2: 22" pieces & 2: 34 1/4" pieces Hardware 2 Easy mount Concealed Hinges 1 window latch 2 Basic Hinges Begin by Building the cabinet box I used a Kreg Jig to build the box Assemble the box by attaching the side panels to the top and bottom panels of the cabinet box. Drill 3/4 inch pilot holes using a kreg jig. Use 1 1/4 inch kreg screws to attach the sides to the top and bottom of the box Set the cabinet box aside and assemble the frames. Using the kreg jig drill 3/4 inch pilot hole to each side of top and bottom pieces. Using a 1" kreg screw attached the bottom and top of frame to each side Note: that you may have to fill in gaps with a little wood putty unless you cut all pieces together in one saw cut like I did. You can also chose to strengthen the joint by attaching a 2x2 corner brace. This isn't required but I wanted to add strength to the joint. I also put a bead of glue down on the non kreg jig side of each corner to strengthen the joint. Attach the outer most frame to the table using 1 1/4" finish nails Place large frame on floor and then table on top to nail them together. Make sure that the large frame over laps the table by 1" on all sides Now flip the table and large frame over. With your table laying flat frame side up place your basic hinges 7/8" from the outer frame. Screw bottom half of hinge to what will be the "underside" table when desk is folded down. (You can place your inner frame in between the outer frame and hinge like I did in picture 1 to make sure the hinge stays where you want it Next place your inner frame laying down inside larger frame and fold hinges to meet the top edge (picture 2) Screw the hinge to outer frame 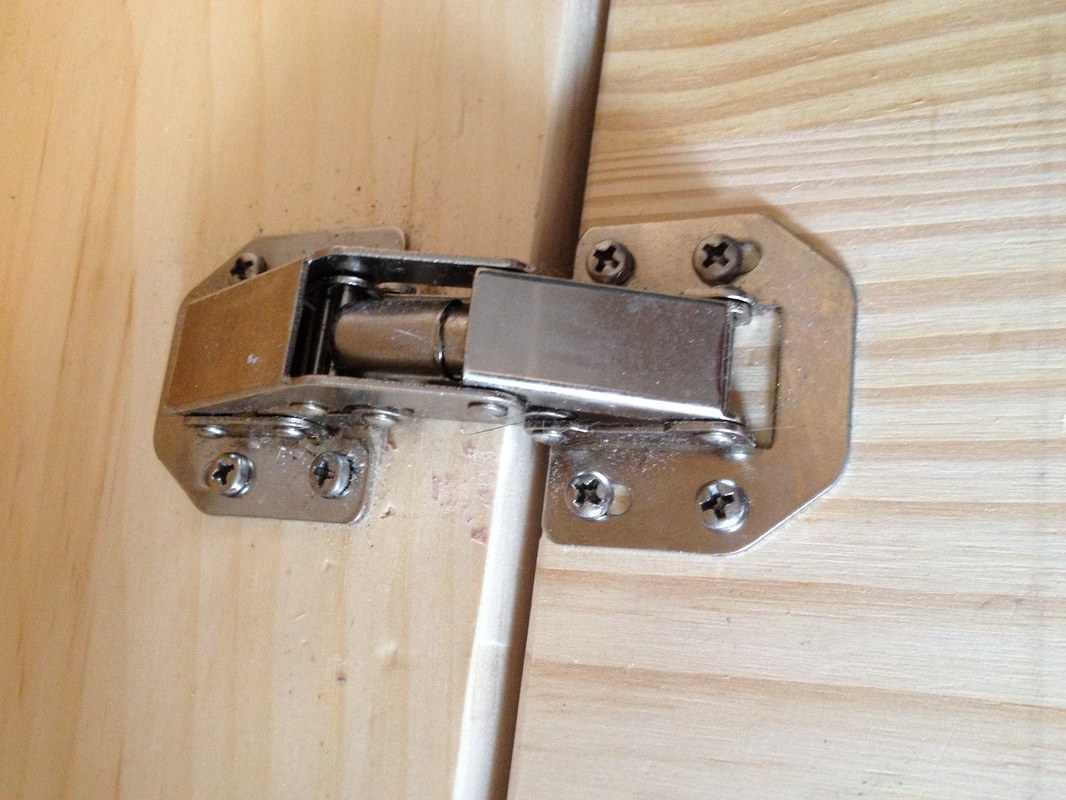 Your almost there! Now its time to attach the table and frames to the cabinet box Using 2 Easy Mount Concealed Hinges attach the hinge to the bottom side of the cabinet box about 3 or 4 inches in from each side of the box. Place the the table "frame side" down on the floor and then slide the cabinet box with hinges attached over it. The cabinet box should nicely slide over the table and come to rest on the outer most frame. With the hinges folded in screw the other side of the hinges to the table. The picture above shows the hinge extended and the table out. (You can always follow the guide provided with the hinge) 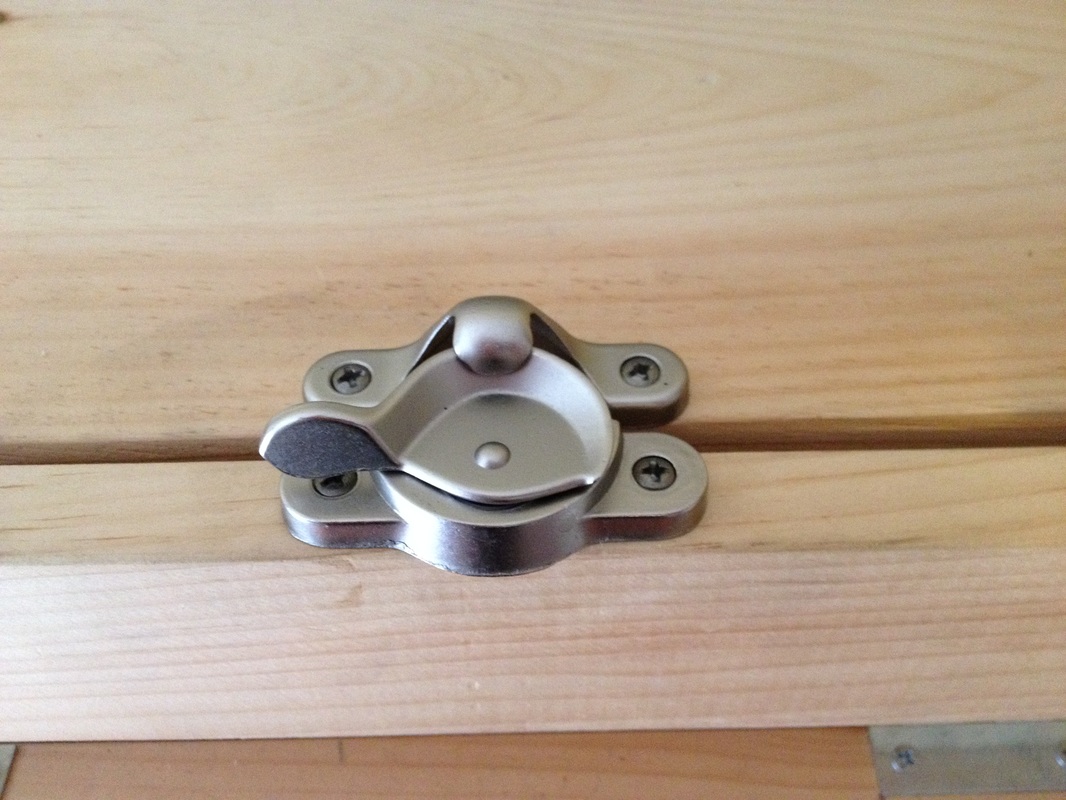 With the cabinet resting on its base attach the window latch to the cabinet box and top edge of the outer most frame. And finally attach the backing piece to the back using 1" finish nails. I nailed 4 along each side and 3 on the top and bottom. |
AuthorHi, I'm Liz. I like to write about life and the wisdom I cull from it. I use words and images to inspire empathy and connection with each other and the world. Categories
All
Archives
September 2019
|


 RSS Feed
